Розміщення: ігровий процес і функціональність
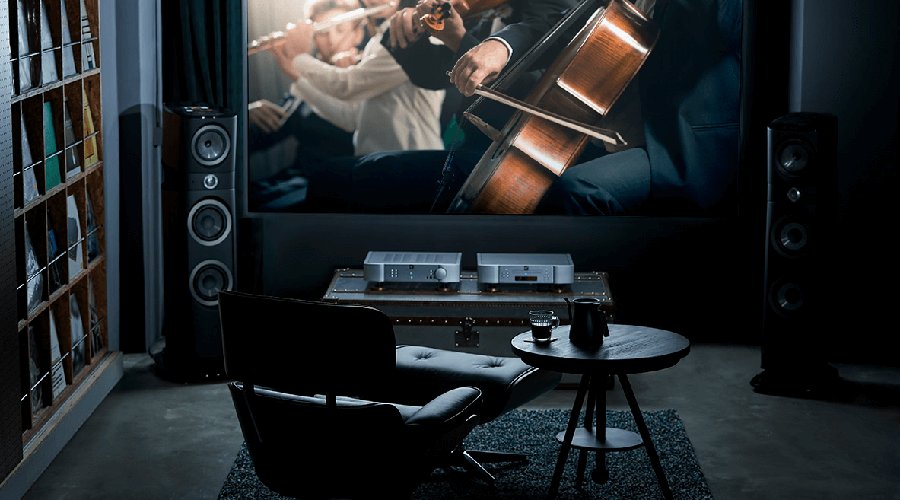
Плануючи розташування, подумайте про те, як будуть поєднуватися ваші меблі, ігрове обладнання та аксесуари. Ваше ігрове крісло та стіл мають бути розташовані так, щоб забезпечити оптимальний комфорт і пряму видимість екрана чи проєктора. Залиште достатньо місця між зоною відпочинку та екраном, щоб уникнути втоми очей і забезпечити чітке та захопливе зображення.
Для тих, хто використовує ігровий проєктор, переконайтеся, що розміщення проєктора збігається з вашим місцем для сидіння та не заважає рухам. Вам також потрібно буде спланувати будь-які додаткові аксесуари, такі як звукові системи, полиці для зберігання або ігрові столи.
Бонусна порада: якщо ви ділите ігрову кімнату як багатоцільовий простір, подумайте про модульні меблі, які легко пересунути або переставити. Таким чином, ви можете легко перемикатися між різними налаштуваннями гри.